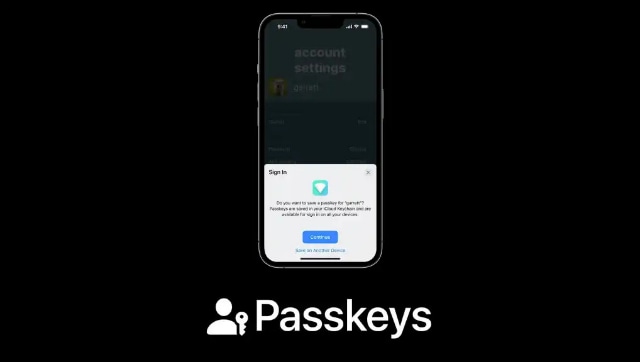
Unlock iPhone by using Passkey instead of password; check step-by-step process here
The iPhone is renowned for its excellent security features. Your screen passcode and iCloud password are utilised to secure an iPhone once it has been configured. These iPhone passwords are the defences that will keep intruders out of your confidential data.

However, forgetting your iPhone password can be a major hassle. While you can reset your iPhone’s passcode by doing a restore using iTunes or Finder, some individuals prefer an easier process to sign in. Now, passkeys can now be used by iPhone users to sign in, doing away with the burden of remembering multiple passwords.
A passkey gives iPhone users a quick and safe way to sign in without passwords. It uses Face ID or Touch ID to recognise users when they login to websites and applications that support the feature. The passkey is saved on the iPhone in iCloud Keychain, making it accessible from all of your devices where your Apple ID is active. This feature is only available on iOS 16, iPadOS 16, macOS Ventura, and tvOS 16.
According to Apple, a passkey is a cryptographic entity that is used in place of a password and is hidden from you. Passkeys are made up of a key pair, which significantly increases security when compared to passwords. The app or website you are using has registered one key as public. The other key is secret and is only stored by your devices. This key pair helps in making sure that your devices and the website or app have a solid, private connection by utilising powerful, industry-standard cryptographic methods.
Steps to save the passkey for an account:
- A new user should enter a chosen account name on the account sign-up screen.
- An existing user has to sign in by using the account name and password.
- When an option to save the passkey is available, tap ‘Continue’ to save the passkey.
Steps to sign in by using the passkey:
- Go to the sign-in screen for any website or application.
- Click on the account name field.
- Choose the account name suggested at the bottom of the screen.
- Follow the onscreen instruction to verify the Face ID or Touch ID.
from Firstpost Tech Latest News https://ift.tt/y97tmpV
Comments
Post a Comment